On Pinterest, there's DIY clothing everywhere. Some of its good, some of its bad. Some of the tops that have inspired me I'll link up. Here's one that I had to use the rocky translation to figure out how it was made. Mine is basically the same, except without the little holes for a ribbon to tie it. Another is this ($80!!!!) nursing cover by Dria. It doubles as a lightweight cover for your stroller, the neck hole is supposed to fit over your stroller's handles. It also fits over the carseat, which the woman in the picture so "easily" carries on one arm...I don't know about you, but my 4 1/2 month old 17 pounder isn't getting dragged around in a carseat unless I plop him in our shopping cart. Here's why in case you missed it.
So, here's my first DIY wearable for myself. :)
Same top, but now its a scarf! Whoooo! Here's the tute. :)
You need:
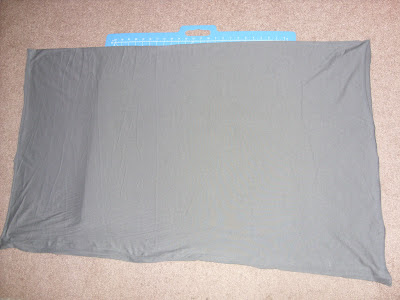
- 1 1/3 to 1 1/2 yards of stretch cotton jersey or modal. Mine was a blend. Something that won't unravel when its been cut.
- Scissors
- Pin
- A shirt you already own to use as a guide for the neck hole
Fold it in half again, and use a pin to mark the middle at the top.
Unfold.
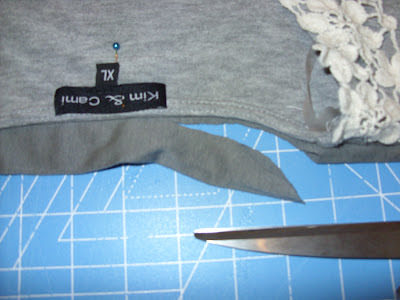
Using the pin as a guide, take your shirt and lay it where you want the neck to begin on the back of the poncho.
Cut away very, very carefully so you don't cut into your shirt. I'm surprised I managed!
Scootch your guide shirt down to where you want the neck line to end. Be cautious so you don't cut it too far down, you can always try it on and cut more. You can't put it back on! :P
Roll over the little flaps so that you can see the general shape. Mine is a V, you can cut it any shape you want.
Start cutting, again careful!
Here's what it looks like flat. A doubled rectangle with the neck hole on the folded edge.
I might leave it like this for awhile, and then decide I want to sew up the sides to make it similar to the circle tops that I ALSO like, but the advantage of this is its very, very versatile. And it was seriously only $10 to make after I used a coupon!!!


No comments:
Post a Comment